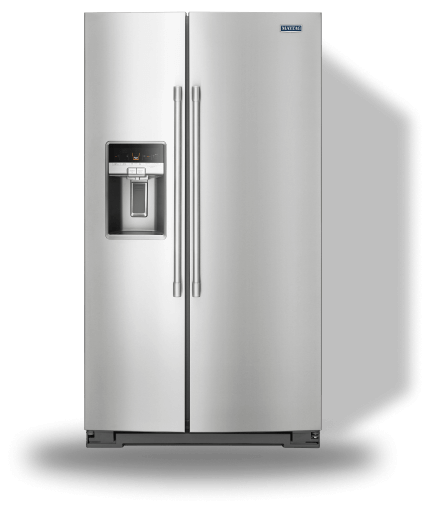
Have you ever opened your freezer only to be greeted by a mini iceberg? If you own a Maytag freezer or any other brand, defrosting is a maintenance task that, while not frequent, is important to undertake. Freezers tend to build up ice over time, which can reduce their efficiency and usable space. In this article, I’ll guide you through the process of defrosting your Maytag freezer, ensuring you get it done efficiently and safely.
Understanding the Need for Defrosting
Before we dive into the process, it’s essential to understand why defrosting your freezer is necessary. Ice buildup can be detrimental to your freezer’s performance, potentially increasing energy consumption and putting extra strain on the cooling system. Regular defrosting keeps your freezer running smoothly and helps preserve your food at optimal conditions.
Preparations Before Defrosting
- Choose the Right Time: It’s best to defrost your freezer when the stock of frozen goods is low. Consider using up your perishables before the defrost, or find an alternative storage solution, like a cooler with ice packs, for the duration of the defrosting process.
- Gather Necessary Equipment: You’ll need towels, a spatula or plastic scraper (never use metal tools), a cooler, and a method to clean the interior afterward (mild detergent or baking soda solution).
- Unplug the Freezer: Safety first. Always unplug your freezer before starting the defrosting process to avoid any electrical hazards.
- Remove Food Items: Transfer your frozen items into the cooler to keep them cold while you defrost the freezer.

The Defrosting Process
Step-by-Step Instructions:
- Open the Freezer Door: Allow the room-temperature air to circulate in the freezer.
- Speed Up the Process (Optional): To hasten the defrosting, place a pot of hot water inside the freezer and close the door for a few minutes. The steam will help melt the ice quicker.
- Scrape Away Ice: As the ice starts to soften, gently remove it using the spatula or plastic scraper. Remember, you should never use force or sharp metal objects as this can damage the interior of your freezer.
- Soak Up Water: Continuously soak up the melting ice and water with towels to prevent any spillage or water damage to your kitchen floor.
- Clean the Interior: Once all the ice is removed, and the freezer is free of frost, it’s time to clean the interior. Use a mild detergent or a baking soda solution to wipe down the surfaces. This will also help eliminate any odors.
- Dry the Freezer: Before plugging it back in, ensure that the freezer is completely dry. Any remaining moisture can lead to immediate frost buildup.
- Turn the Freezer Back On: Plug in the freezer, set it to the desired temperature, and close the door. Give it some time to reach the optimal freezing temperature before restocking it with food.
- Restock the Freezer: Once the freezer is cold enough, organize and put back all the food items. This is a great opportunity to discard any expired products or unwanted freezer-burned items.
Aftercare and Maintenance
- Regular Checks: Keep an eye on the frost accumulation. Defrosting should be done whenever the ice buildup reaches a quarter of an inch.
- Proper Packaging: Ensure that all food items are tightly sealed before placing them in the freezer. This prevents moisture from escaping and turning into frost.
- Temperature Settings: Keep your freezer at the appropriate temperature, usually around 0°F (-18°C), to minimize frost buildup.
- Door Seals: Check the door seals regularly. If they are worn or damaged, they can let in warm air, which contributes to frost.
Key Takeaways
- Defrosting is essential for the longevity and efficiency of your Maytag freezer.
- Safety first: Always unplug your freezer before beginning the defrosting process.
- Be pr


