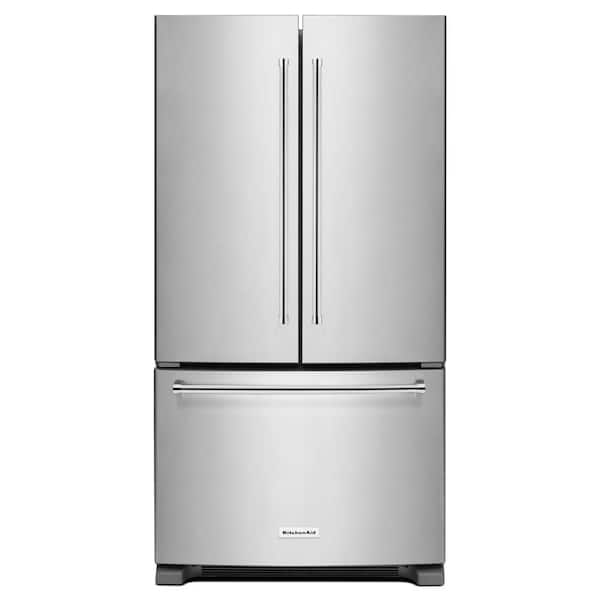
Maintaining and organizing your freezer can significantly enhance your kitchen efficiency. If you own a KitchenAid freezer, you might find yourself needing to remove the drawer for cleaning, defrosting, or simply reorganizing the space. While the task may seem daunting at first, with the right approach, it’s a manageable and straightforward process. This guide will provide you with detailed instructions on how to remove the drawer from your KitchenAid freezer, ensuring a hassle-free experience.
Preparation: Safety First
Before you begin the process of removing the drawer, it’s crucial to prioritize safety and protect your appliance from any potential damage.
- Disconnect Power: Unplug your freezer or switch off the circuit breaker to eliminate any electrical hazards.
- Empty the Drawer: Remove all items from the freezer drawer to lighten the load and prevent any items from falling out during the process.
- Gather Necessary Tools: Although most KitchenAid freezer drawers are designed for tool-free removal, it’s always good to have a Phillips head screwdriver and a pair of gloves on hand in case you encounter any unexpected needs.

Step-by-Step Drawer Removal
Follow these steps to successfully remove the drawer from your KitchenAid freezer:
- Extend the Drawer: Pull the freezer drawer out to its full extension. Most models feature a rolling track or gliding mechanism that allows for smooth motion.
- Locate the Screws (If Applicable): Some KitchenAid freezer models may have retaining screws or clips at the sides of the drawer that secure it to the sliding rails. If your model has these, use a Phillips head screwdriver to remove them.
- Lift the Drawer: After ensuring that all retaining mechanisms are disengaged, lift the drawer up and out at an angle. Be sure to support the weight of the drawer evenly to avoid warping or bending the tracks.
- Remove Any Obstructions: If the drawer doesn’t come out smoothly, check for any obstructions or additional locking mechanisms that might be holding it in place. Consult your user manual for model-specific instructions as necessary.
Tips for Drawer Reinstallation
When it comes time to put the drawer back into your KitchenAid freezer, the process is often just a reversal of removal. Keep these tips in mind:
- Align the Tracks: Carefully align the drawer’s rollers or glides with the tracks inside the freezer compartment. Ensure they are seated correctly before pushing the drawer back in.
- Test the Motion: Gently slide the drawer in and out to test the motion. It should move smoothly without resistance. If there’s any sticking or unevenness, recheck the alignment.
- Secure with Screws (If Applicable): If your model uses retaining screws or clips, replace them once the drawer is correctly aligned and moving smoothly.
- Restore Power: Once the drawer is reinstalled and you’re satisfied with its operation, plug the freezer back in or switch on the circuit breaker.
Troubleshooting Common Issues
Occasionally, you might encounter some difficulties when removing or reinstalling the freezer drawer. Here are some common issues and their possible solutions:
- Drawer Won’t Budge: If the drawer seems stuck, ensure that you’ve removed all screws or clips and that there are no obstructions. Sometimes, gently wiggling the drawer can help release it from the track.
- Misaligned Tracks: If the drawer isn’t sliding in properly, it could be due to misaligned tracks. Check to make sure that each side is parallel and fully inserted into the slots on the drawer.
- Frozen Rails: In freezers that have a build-up of ice, the rails can become frozen in place. Defrosting your freezer can help alleviate this issue.
Key Takeaways
- Safety Precautions: Always disconnect power and empty the drawer before attempting removal.
- Model-Specific Instructions: Refer to your user manual for any specific instructions related to your particular KitchenAid freezer model.
- Smooth Operation: Ensure that the drawer glides smoothly on its tracks before and after reinstallation.
- Troubleshooting: If you encounter any issues, assess for common problems such as obstructions, misalignment, or frozen components.
Removing the drawer from your KitchenAid freezer doesn’t have to be a complicated task. By following these steps and tips, you can perform the removal efficiently and safely. Whether you’re giving your freezer a thorough cleaning or making space for a large grocery haul, mastering this skill will make you the ultimate KitchenAid appliance whisperer.


