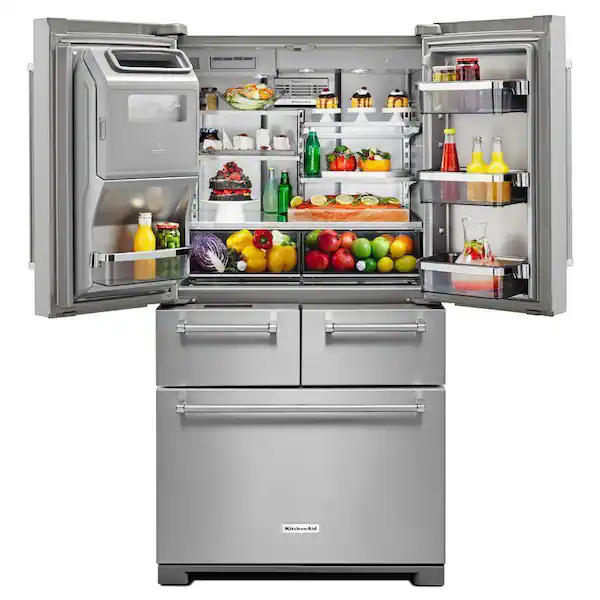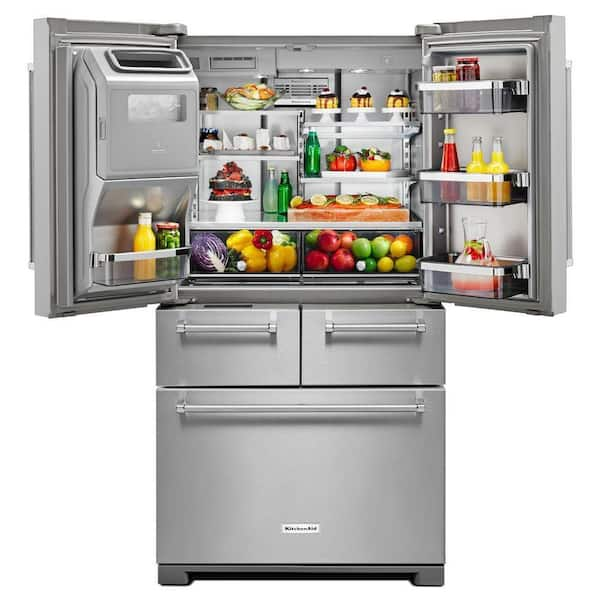
KitchenAid freezers are renowned for their durability and sleek design, enhancing the functional aesthetics of modern kitchens. However, even the most reliable appliances may require some troubleshooting or part replacement over time. One such component that might need attention is the door handle stud, which is integral to the smooth operation of your KitchenAid freezer’s door. Accessing this part can seem daunting, but with the right approach, it can be a straightforward process.
Before beginning, it’s essential to understand what a door handle stud is and its importance. The door handle stud is a small, but crucial, part that connects the handle to the freezer door. It ensures a firm grip and seamless movement when opening and closing the freezer. Over time, this component may become loose or damaged, leading to a wobbly handle or, in worse cases, a handle that comes off completely.
To access the door handle stud on your KitchenAid freezer, you’ll need a few tools:
Safety should be your top priority. Before starting any work on your freezer, ensure that the appliance is unplugged and that you have a clean and spacious workspace.
First, find the model number of your KitchenAid freezer. This information is usually located on a label inside the freezer or in the user manual. Knowing the exact model helps you understand the specific assembly of your appliance and can be useful if you need to order replacement parts.
Most KitchenAid freezer handles are attached with set screws that are hidden from plain view to maintain the appliance’s sleek appearance. These screws are typically located on the inner side of the handle. Use a screwdriver to loosen them, and gently pull the handle away from the door to remove it.
With the handle removed, you should see the door handle studs protruding from the door. If the stud is loose, use needle-nose pliers to hold it in place while you tighten the screw from the handle’s side. If the stud needs to be replaced, carefully unscrew it from the door, using the pliers if necessary.
If you’re simply tightening the stud, ensure it’s securely fastened to the door before reattaching the handle. If replacing, screw the new stud into the door, making sure it’s firmly in place. Once the stud is secured, reattach the handle by aligning it with the studs and tightening the set screws.
After the handle is back in place, test it by opening and closing the door several times. The handle should be stable and not have any give. If it feels loose, repeat the previous steps, ensuring everything is tightened appropriately.

Now that you’ve accessed and, if necessary, repaired the door handle stud, here are some tips for maintaining it:
